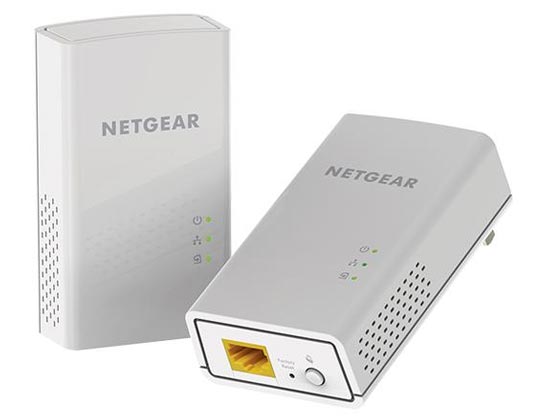
Netgear Powerline 1000 Setup
Netgear Powerline 1000 is one of the best ways to get rid of cables. The Netgear Powerline 1000 device can be easily plugged into any power outlet. And, once you complete the Netgear Powerline 1000 setup process, it will be ready to extend the range of your existing WiFi connection to any room.
If you are a new user of the Netgear Powerline 1000, you may face difficulties when performing the configuration process of your device. But, you don’t have to worry! This particular page will provide you instructions for installing Netgear Powerline 1000 without any hassle. Continue reading!
Netgear Powerline 1000 device boosts your existing WiFi range and lets you access the internet to far corners of your house securely. Yes, you read it right, securely! Netgear Powerline 1000 device establishes a secure network connection between your connected devices. Just connect your Netgear Powerline 1000 device to your existing electrical wiring anywhere in your home, connect it to the adaptor, and you are all set. You can also use your Netgear Powerline 1000 device (when configured) to wirelessly link your gaming consoles, smart TVs, streaming devices, etc.
Netgear Powerline 1000 Setup | Adapter Installation
- Connect the adapter of your Netgear Powerline 1000 device to a power outlet.
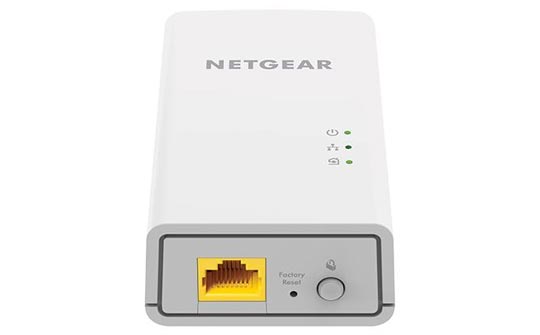
Note: It is recommended to use direct wall sockets rather than extension cords or power strips. Doing so will prevent fluctuation in the power. - Now, check the Pick A Plug LED light on your Netgear Powerline 1000’s adaptor. It must be turned on.
- Connect your Netgear Powerline 1000 device to your main router using an Ethernet source.
- Until you reach this point, the Netgear Powerline 1000’s adapter installation is completed.
Call Toll Free for Support: 1-866-889-0666
Netgear Powerline 1000 Setup via WPS
With the successful configuration of Netgear Powerline 1000 device, you can:
- Modify your network settings
- Change login credentials
- Extend your network
- Connect it (the Powerline device) to an access point or device.
Once you’ve properly installed the adapter of your Netgear Powerline 1000 device, all you have to do is:
- Power on your Netgear Powerline 1000 device. Ensure to place it in reach of your existing router.
- Locate and press the WPS button on one of the Netgear Powerline 1000 adapter’s edges.
- Hold the Netgear Powerline 1000’s WPS button.
- Have a look at the Netgear Powerline 1000’s WiFi LED light. It will begin to blink.
- Wait for some time after pressing the WPS button. Let it become stable.
- Now, press the router’s WPS button as well.
Congrats! You have connected your Netgear Powerline 1000 to your router using the WPS method.
- Thereafter, open a web browser of your choice and type www.mywifiext.net into the address bar.
- Log in with the default admin credentials.
- You can change the SSID and security after logging in to the Netgear Powerline 1000 setup page.
Troubleshooting Netgear Powerline 1000 Setup Issues
- Make sure that your Netgear Powerline 1000 is receiving a proper power supply and that the wall socket into which it is plugged isn’t damaged.
- Also, ensure that the Ethernet connection between your Netgear Powerline 1000 and router is successfully made and the cable you have used isn’t worn out or damaged.
- Check the distance between your Netgear Powerline 1000 and router. If the distance between them is too much, then it is obvious to face Netgear Powerline 1000 setup issues. The optimal distance between the devices must not exceed the limit of 30 feet.
- Be certain that your existing router has the WPS button on it. If not, then you will not be able to complete the setup process of your Netgear Powerline 1000 device using the WPS method.
By any chance, if your router doesn’t have the WPS button, then perform the Netgear Powerline 1000 setup process using the manual method. Just visit the setup page of your Netgear Powerline 1000 device using its default IP and follow the provided instructions.
The Final Words
We hope that this particular page has helped you perform Netgear Powerline 1000 setup in a hassle-free way. Just in case, you feel like taking technical assistance, don’t hesitate to contact our experts. They are always ready to solve your queries.